Publish content to your screens directly from Microsoft Teams
Learn MoreProduct
Create any notice or display you like with the ScreenCloud Noticeboard 2.0 app.
If you're using the older version of ScreenCloud (signage.screencloud.com), you can download the alternative Noticeboard 2.0 app guide here.
The ScreenCloud Noticeboard 2.0 app is a quick way to make a text sign and customize the background. Please note that if you're looking for a way to create a fully customized sign or poster, you might want to check out our free Canvas app which offers more advanced design features.
With the ScreenCloud Noticeboard 2.0 app you can:
Here's how it works:
1.1. Simply sign in your current ScreenCloud account, choose the Apps panel from the left-hand menu, and select "App Store".
1.2. By searching "notice" you'll find the Noticeboard 2.0 app. Hit "Install App" to add a new instance.
After the app is installed, you'll see the Noticeboard 2.0 app design panel where you can create your new noticeboard.
Give your noticeboard a name (for example, "Storm announcement") by editing the "Instance Name" section. This will help you spot it later in your content library, particularly if you're planning to use more than one noticeboard within your playlist or channel.
2.1. Add and edit text
Start writing your text in the white box. Remember, you can add as much or as little text as you like and the app will dynamically scale it to ensure it fits perfectly on your screen.
If you want to edit your text, for example, to add a heading or bullet points, simply highlight the text and the editing panel will appear.
2.2. Add an icon
If it suits your idea, you can easily add an icon to your display. Select "Icons" and you'll see the selection of icons that we've carefully created to make your noticeboard look awesome. You can also select "Upload icon" to use your own image.
If your text is set to "Center" align, the logo will appear at the top of the notice.
Whereas if your text is set to "Left" align, the logo will appear in the bottom right-hand corner (this is because our expert design team tells us the board looks more balanced that way).
It's important to note that if you have a lot of text on the screen, there might not be enough room to fit an icon. Therefore, if you want to include one, you should consider splitting your text across a few different notice boards (you can create as many as you want, by the way—it's free!).
2.3. Change your theme
When it comes to theming your display, there are a few key options to consider.
Add a background
Adding a background is great if you have a photo or pattern that you're keen to have on your display. When you upload a background you'll see that we've made a couple of design decisions to help your display look as good as possible. You can turn these off using the sliders but we recommend keeping them on so that your audience can easily read the text you want them to see.
When you choose a background image (and allow us to darken the image slightly and keep your text white) your display will look a little something like this:
If you turn off the text color setting, your text will revert to the color you've selected in your theme.
Choose a theme
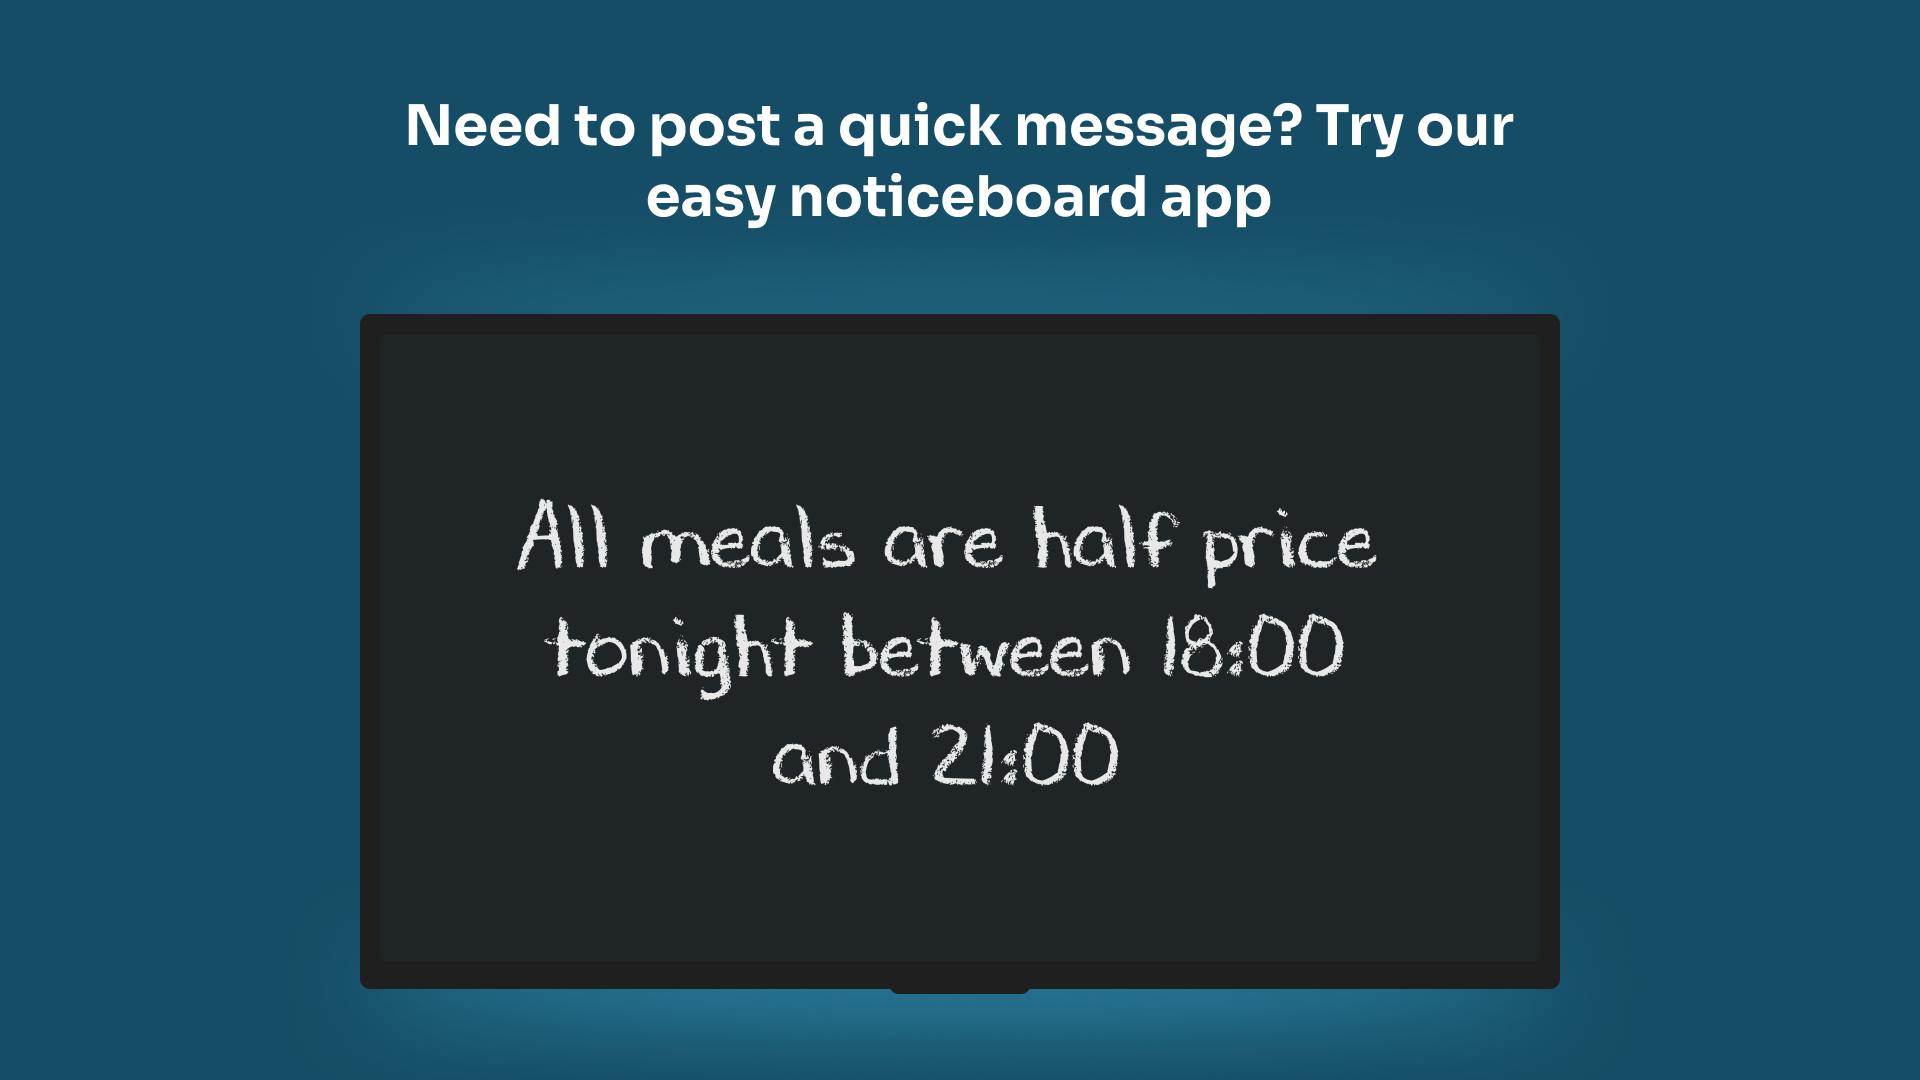
A theme is great if you want your noticeboard to have a certain effect, for example, to look like a chalkboard or a lightbox. If you select one of our special themes (as shown below) we'll customize your text, background, and color themes to match.
Create a custom theme
If you don't want to use a background image and aren't interested in the themes offered, you can also create your own theme within your Account Settings (as shown below).
Simply hit "New Theme" and you'll see different options, including logo, color, and text, for creating and modifying your own theme.
Once created, themes can be added at a Channel-level in order to custom brand apps like Noticeboard 2.0. Find out more on how to create custom themes with ScreenCloud here.
After you've finished editing your noticeboard, hit "Preview" to see what it'd look like on a screen. If you need to make any changes, click "Preview" again to reopen the Noticeboard 2.0 builder tool. Once you're happy with everything, don't forget to hit "Save" to add your noticeboard to your content library.
You can easily add your newly created noticeboard to an existing channel. Head over to the Channels panel from the left-hand menu and edit your chosen channel. Then select "Add Content" to open the Media Picker and under Apps you'll see all of your app instances, ready to be added. Check out the tutorial below for more detail.
I'm using Noticeboard 2.0 in the ticker-tape area, but it's not scrolling
If your text isn't long enough, the app will automatically keep your text static (i.e. still) in the ticker-tape area. For example, if you've configured the app to read "Good Morning", it'd appear as displayed below.
For further questions, please contact support@screencloud.com with details.
Connect your first screen today with our 14-day free trial