Publish content to your screens directly from Microsoft Teams
Learn More

Product
ScreenCloud Building Directory App Guide
Need to show folks where they need to go? This app is your key.
How many times a day do you get asked where a room, person or floor is? In hospitals, offices and lobbies it can be a real problem. You know what would make life easier? If you had one big screen setup to show everyone exactly where they need to go.
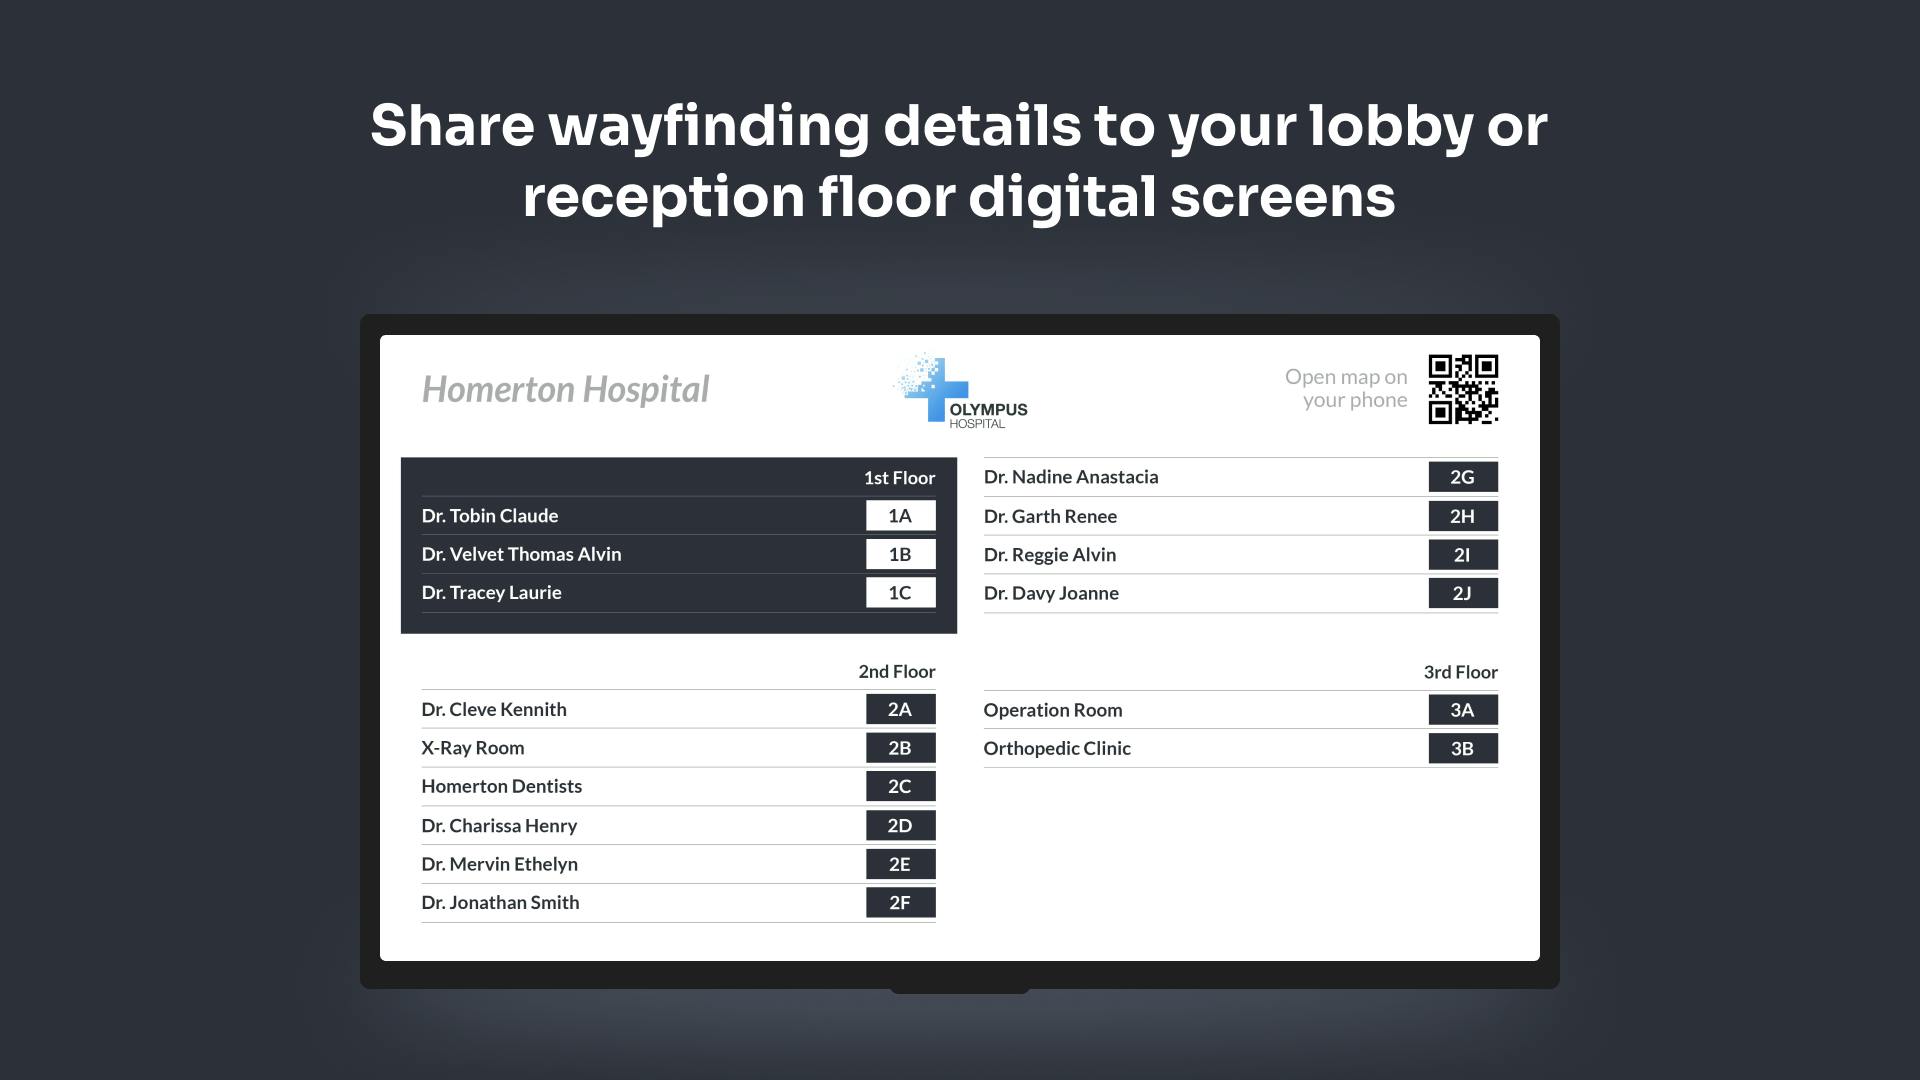
Enter Building Directory app from ScreenCloud. The app makes it easy to list floors, rooms and people and display it in a visual way that’s easy to read at a glance. As well as organizing rooms and listing floors, you can also update things last minute. Need a quick room change? No problem, Building Directory app lets you change names and listings in a second. This means your visitors are always pointed in the right direction and no one need ever get lost again.
With the ScreenCloud Building Directory app you can:
- List all your rooms or offices in a building or group
- Group offices, buildings or people by floors
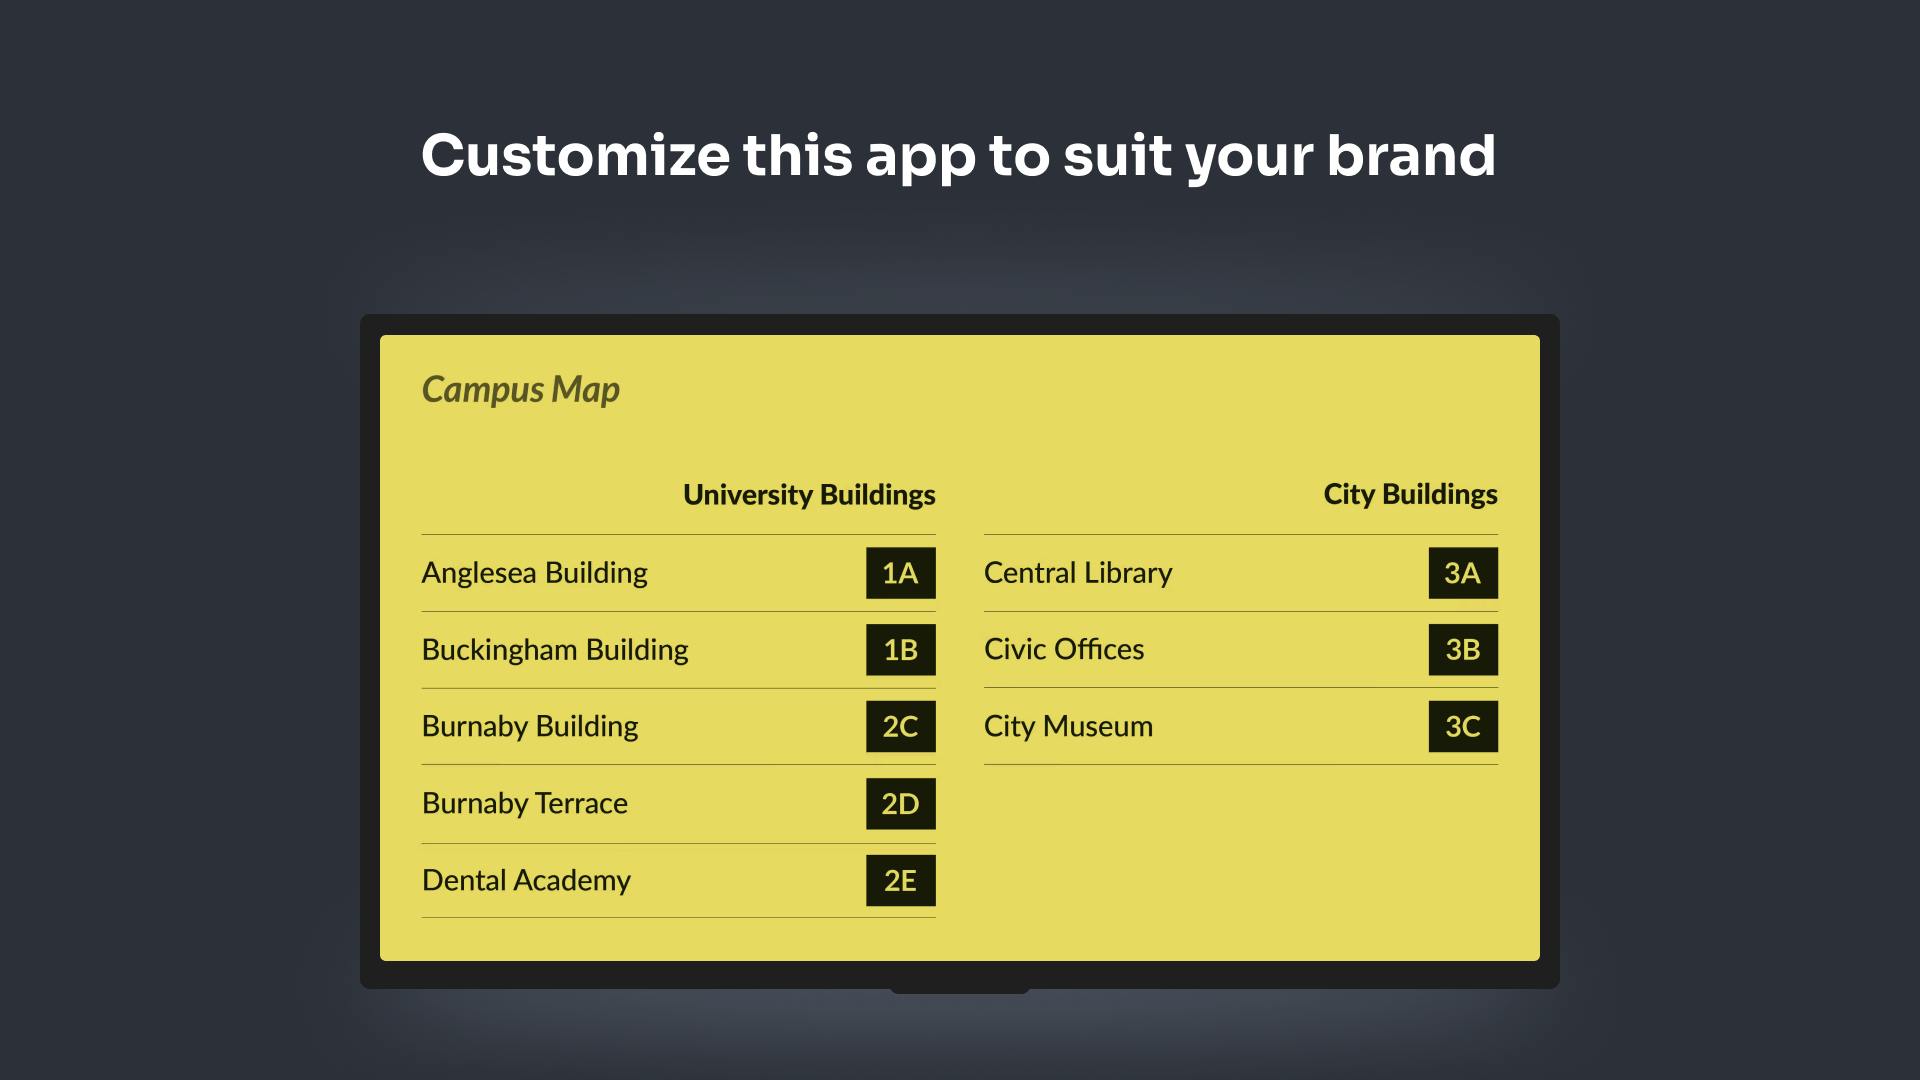
- Add your logo and custom brand in your own theme (or choose one of ours).
Here’s how it works:
1. Select and install ScreenCloud’s Building Directory app
To begin, follow this link and select “Install this app” in the bottom right-hand corner. This will log you in to your ScreenCloud account, or prompt you to set up our free trial in order to use the Building Directory app and others within our App Store.

2. Create your Building Directory
Next to “Create and configure your Building Directory” click “Configure”. In a new tab you’ll see the Building Directory editing panel open.

Here, you can easily add rooms, floors and even logos to each section to create your perfect building directory. Here’s a step-by-step guide:
i) Name your directory
To begin with, name your directory. This is the name that will show on your screen so you might want to use this field to say something like “Welcome” or “Floor one guide”. You can also add a logo that will show in the top left-hand side of your display and a QR code to take viewers to your website or another link of your choice.

ii) Add your rooms and offices
Next, begin adding your directory items. This could be the name of the person or room, the room number or the office location. You can also switch between having a room number and having a direction for that room if you prefer. If you want to delete a room at any time, press the “delete” icon. You can also move the order of the rooms using the icon with the two lines.

iii) Add floors
If you want to add a floor, select “Add floor” and give this a name. Please note, if you do not add a floor your rooms will be listed under “Uncategorized”. You can also tick “Highlight floor” in order to make that floor more prominent on your building directory. You can then add more items to that floor, or start a new floor with new items.

Please note: if you delete a floor you will delete all rooms/offices within that floor. You also cannot move rooms/offices between floors but you can change the order of them within a floor.
You can also add a logo or headshot to each room by choosing “Upload” under the “LOGO” column.

Once you are happy with everything you have created, select “Save Changes” to return to ScreenCloud to preview your Directory or to add it to a playlist.
3. Choose your theme
Back in the original screen you will now see a green checkmark next to “Configure”.

Next, choose a theme. In Building Directory app you can choose one of our themes, or create your own. This includes the default theme:

A dark theme:

A light theme:

You can also create a completely custom theme using any colors you like. For example, this is the Building Directory app in our brand colors here at ScreenCloud:

To create a custom theme, check out our guide on how to use the App Theme Editor. Once you’ve set up a custom theme you will see this in the theme dropdown box within the Building Directory app settings.
4. Preview your Building Directory
To preview your Building Directory select “Preview App”. This will open a new window where you can see what your Building Directory would look like on screen.

If you need to make any changes click “Close Preview” then “Configure” to reopen the Building Directory builder tool. Once you have made any further changes, click “Saves Changes” and return to open the preview.
5. Add Building Directory app to your playlist
Once you are happy with your Building Directory click “Add App” and give your directory a name. This will help you to spot it later in your content library, particularly if you are planning to use more than one building directory.

Select “Finished” and your app will now be listed within your Content Library.
Next, select the playlist you wish to add this to and drag and drop the building directory from the right-hand side to the playlist of your choosing.

Here, you can also change the duration that your building directory is shown for, currently set as 1:00 for one-minute.
Frequently asked questions:
Can I make changes to my building directory after it has been saved or added to a playlist?
Yes. To make changes to an existing building directory, find it in the Content Library. If you hover over the app you will see an option to “Edit This App”.

Once selected you can click “Configure” to re-open the original editing panel and make any changes.
I've noticed some of my font colors are not working correctly, how can I fix this?
We advise if you're using the App Theme Editor to brand your own colors and fonts, to please double-check the compatibility for any custom fonts you're using. If you switch the font-style or custom font you're using and notice the issue has resolved, it could be an issue with the custom font you've used in the App Theme Editor for branding your apps. Please note, you may also notice backward compatibility issues with fonts if you've migrated from ScreenCloud Signage (Old Platform - 2015) to ScreenCloud Studio (New Platform - 2019). Custom fonts are currently not backward compatible and will require to be re-setup in the new platform while creating themes.
For further questions, please contact support@screen.cloud with details.
Ready to get your organization connected?
Connect your first screen today with our 14-day free trial