ScreenCloud arrowMore Apps
Facebook Recommendations logo

Facebook Recommendations

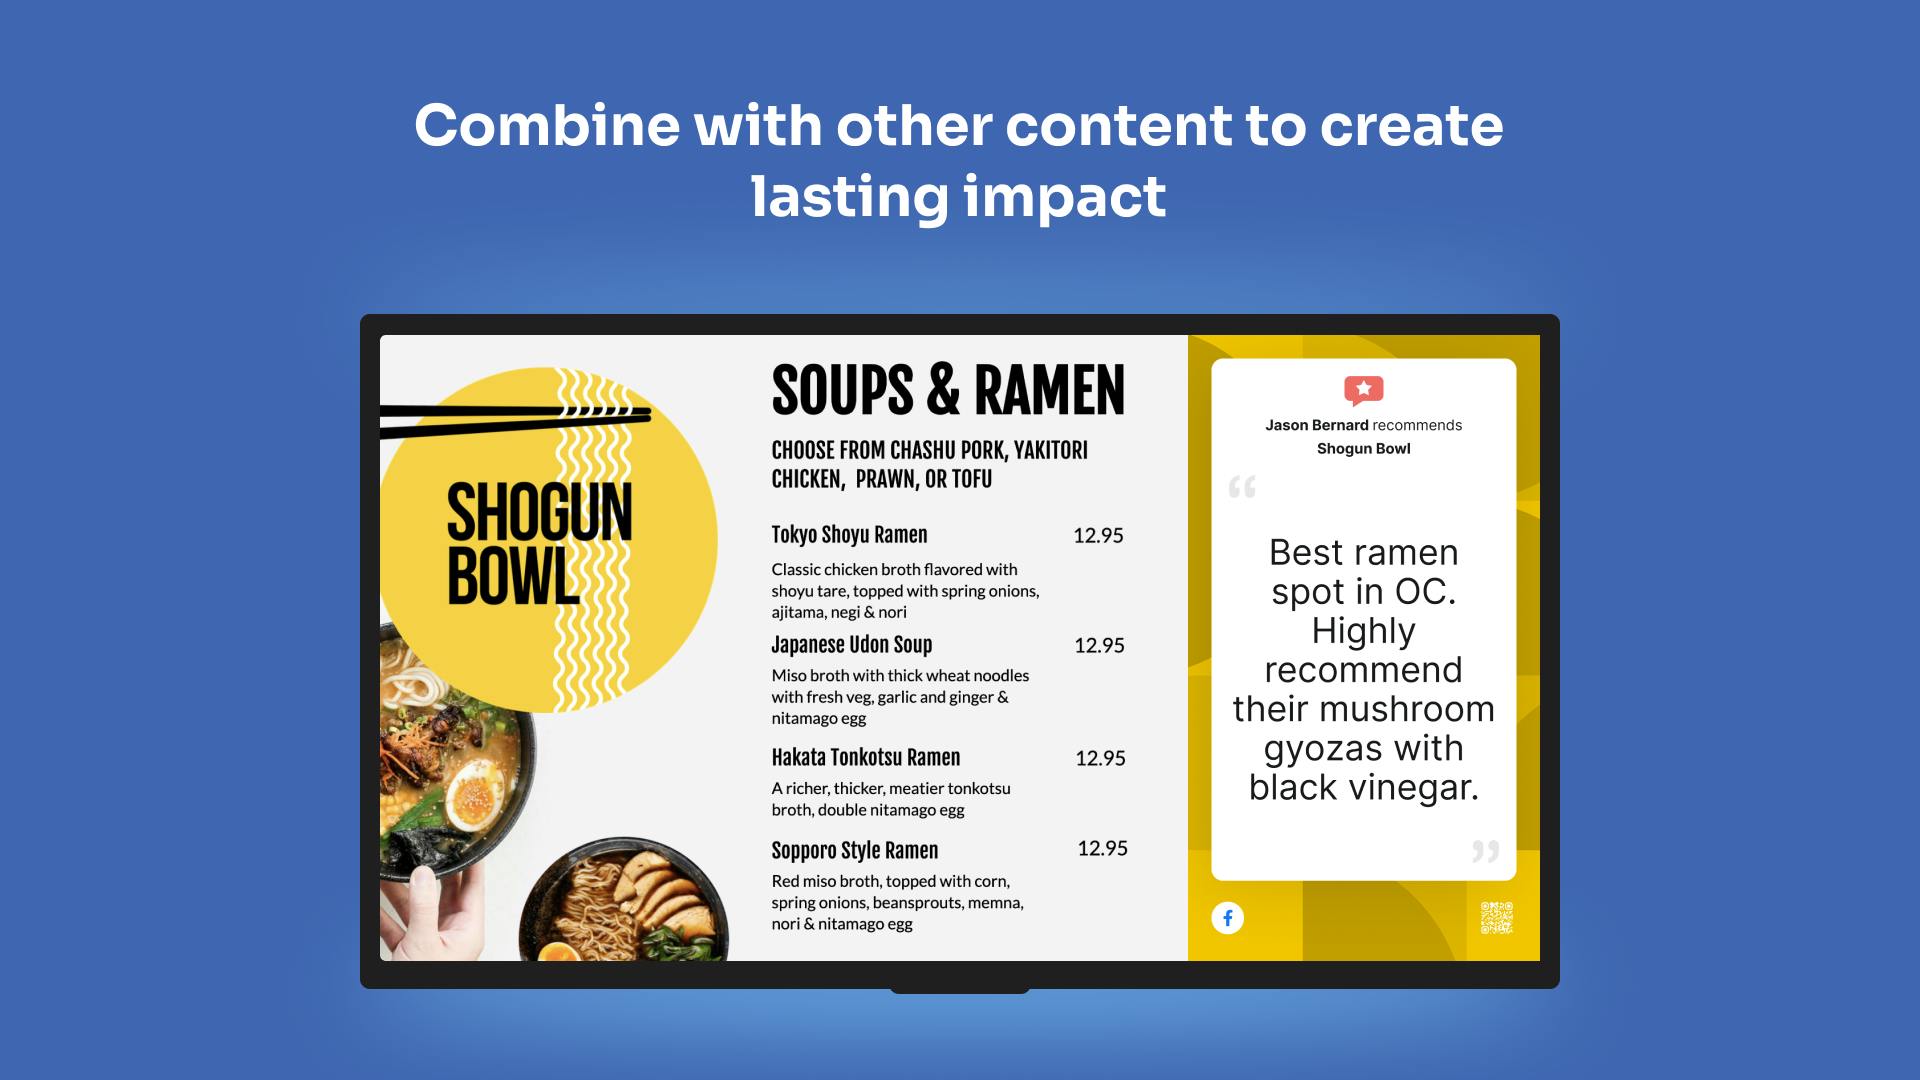
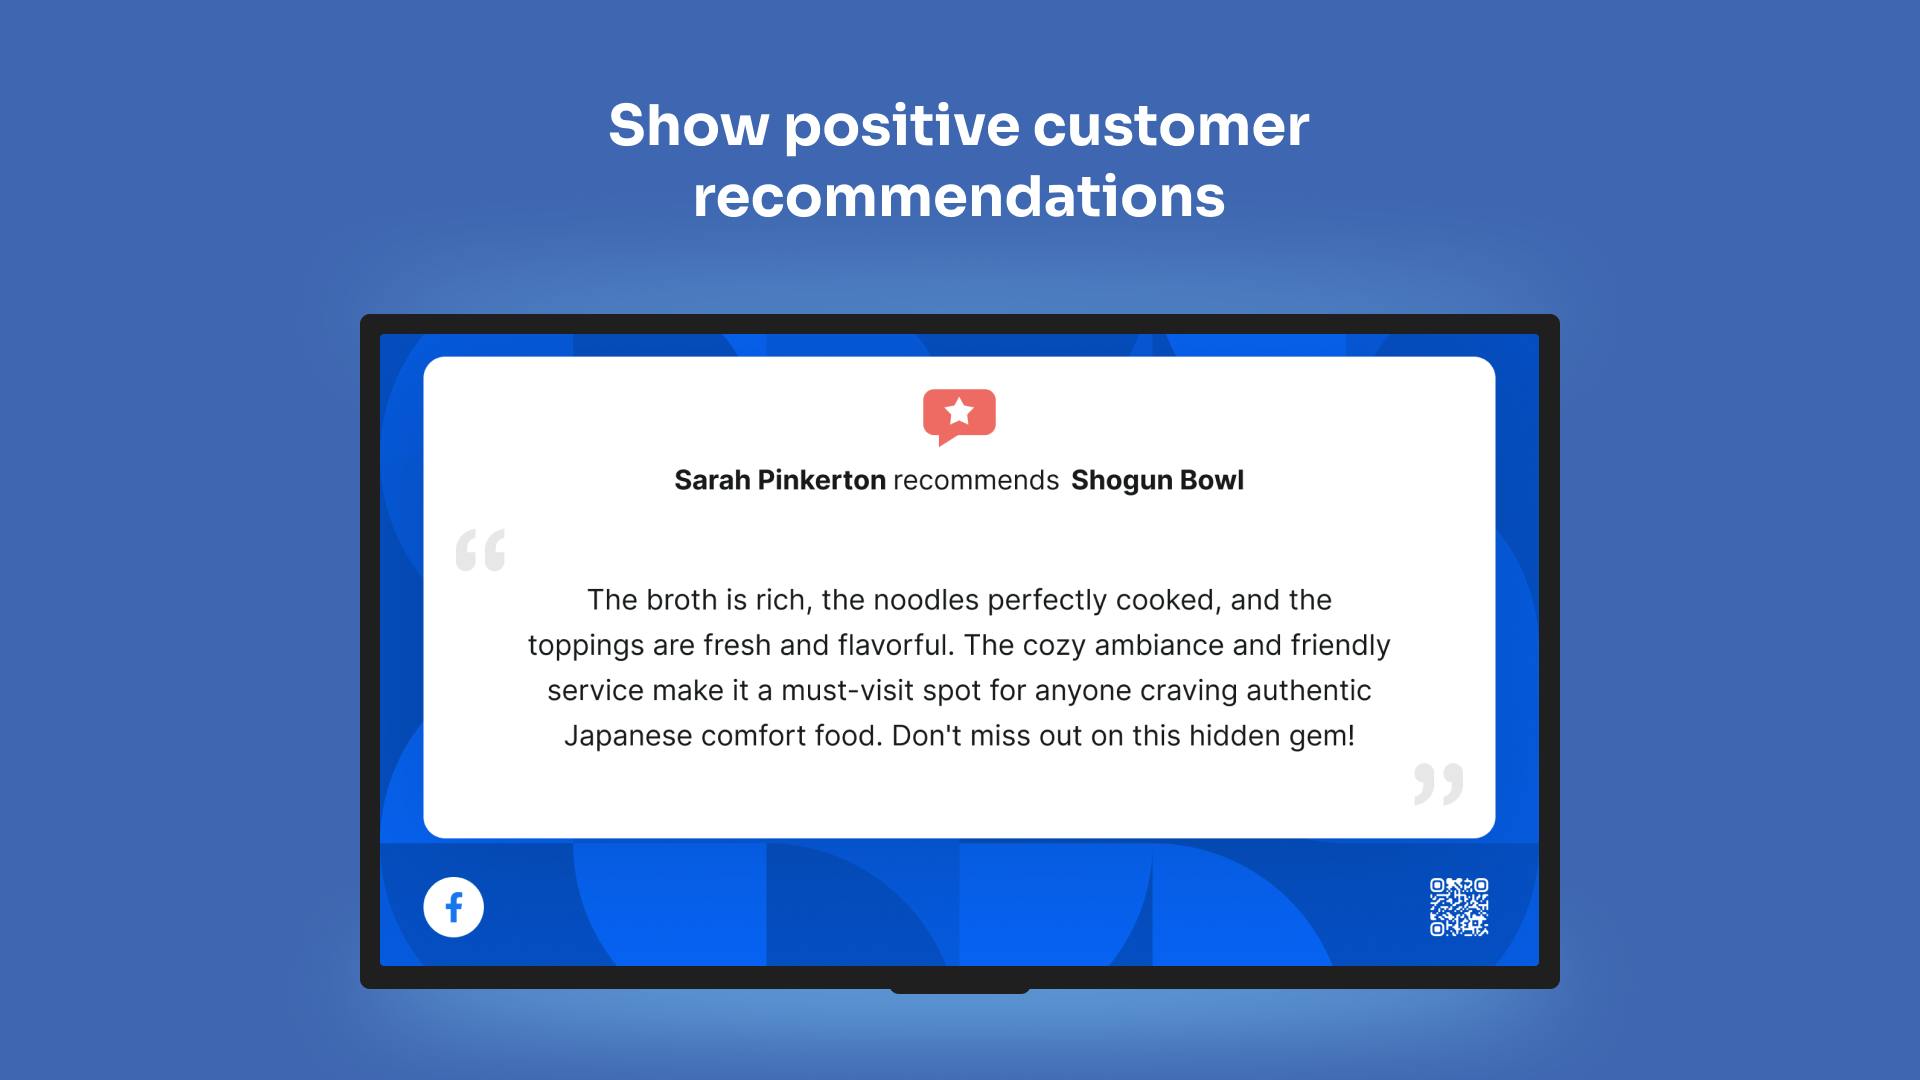
Showcase the latest recommendations left by your customers from your Facebook business page to your digital signage screens. Choose to only show positive reviews to easily filter out negative reviews and share them in a visually attractive display made for digital signage screens.

Get Started

Included in all plans

ScreenCloud Facebook Recommendations App Guide

These days we don’t only use Facebook to chat with friends, but also to leave quick recommendations and feedback that help others find out what’s good, great and not so great. If your customers are leaving Facebook recommendations to promote your business, why not share them on your digital signage screens? Facebook Recommendations app lifts recommendations left by customers and adds them directly to your screens. You can also filter your recommendations by the type of ratings left.

Please note: as of September 2019, Facebook has changed its API for how the functionality of the Facebook Reviews app works and have removed the star-rating feedback. The app now accounts for positive and/or negative recommendations (i.e. Claire recommends ScreenCloud/Claire doesn't recommend ScreenCloud) for the Facebook business page selected while setting up the app. The following guide reflects the new updated changes for the app since this API change from Facebook took effect. The app is currently still accessible from ScreenCloud's App Store as "Facebook Reviews", and in our version two platform [in development] the app is available as "Facebook Recommendations". This guide applies to both versions of the app.

Here’s how it works:

1. Select and Install ScreenCloud’s Facebook Recommendations app

1.1. Get started by logging into your ScreenCloud account here and choosing the ScreenCloud App Store from the left-hand menu.

1.2. By searching “Facebook Recommendations” you can find the Facebook Recommendations app and choose the “Install app” button to add a new instance.

2. Log into your Facebook account

2. Connect your Facebook account to ScreenCloud

2.1. The first step is to connect a Facebook account. Go ahead and click the Connect a Facebook account button to begin.

2.2. Next, name your connection, and select Sign into Facebook.

2.3. The next step is connecting the ScreenCloud app with Facebook’s Meta, where you’ll be directed to a Facebook window. This ensures that we can pull the Facebook feed directly from a page you manage. Please note, that the app only works with Business or Brand pages and will not pull data for a personal Facebook page. Accounts that are connected must also have full page access. This is configurable in the Page Access tab in the page settings.

2.4. Select or log into the correct Facebook account

2.5. Then select the Business and Pages you would like to connect. We recommend selecting "Opt into all current and future Businesses / Pages" as this will ensure you can configure all your current and future pages. Once this is complete, you’ll be directed back to the app in ScreenCloud

Please note: if you select specific businesses / pages you will need to reset your authentication token and reconfigure all our Facebook apps to add pages outside of your selection.

2.7. Hit Confirm Selection to select you Page(s) you wish to display with the app. You won't be able to change your selection of business pages afterward, but you can easily create a new app instance with the same login details to pick a new selection of pages.

3. Choose your Facebook app settings

3.1. With access to your Facebook account, choose the page you wish to show reviews on screen from the selection offered.

3.2. Hit Confirm selection to save your picks. Please note that you won't be able to change your selection of pages afterward, but you can easily create a new app instance with the same login details to pick a new selection of pages.

3.3. With your Facebook Business page(s) selected, you will be able to select a few different display options for your content:

  • Post visibility (in days): Configure how long posts remain visible on screen. The maximum value is 365 days.
  • Show logo: Show or don't show the Facebook logo or channel theme logo. Please see the guide on look & feel and themes to learn how to apply your own logo.
  • Show a QR code linking to the original post: When scanned this leads to the original recognition post in your Awardco account that is currently showing with the app. It will require user access to the account and request a login if not already logged in.
  • Filter by recommendation: Select which type of recommendation you would like to display on screen, focusing on only positive reviews or a mixture
  • Select post duration: How long an individual post will appear onscreen. Choose between slow, default, and fast, or insert your time in seconds by selecting manual.

3.4. Once you have applied your desired settings, don't forget to give your app a name. Next, click Save & Close or, go ahead and see a Preview (the next step).

4. Preview your Facebook Recommendations app

Once you’ve added your Facebook Recommendations app you have the opportunity to preview it before it gets added to your screens.

Click Preview to see how your Facebook Recommendations app and posts will appear on screen.

5. Add Facebook Recommendations app to your channel or playlist

Once you have configured your Facebook Recommendations app it can be easily added to a Channel or Playlist to be played on screen. Simply select Add Content to open the Media Picker and under Apps, you will see all of your app instances, ready to be installed. You can also view ways you can set content on your digital screens using ScreenCloud by clicking here.

6. Facebook Recommendations app limits and layout compatibility

Limits to the Facebook Recommendations app

  • Does not support company branding/themes.
  • One filter is selectable per instance.
  • Does not pull through attached media.

Channel and zone layout support for the Facebook Recommendations app

  • Main Zone: Yes
  • Ticker Tape: No
  • Side Bar: Yes
  • Theme: No

For further questions, please contact support@screencloud.com with details.